Removal and Installation
M250
▸Contents: 03 - Differential and Driveline
Description and Operation
Diagnosis and Testing
ASSEMBLY, Differential
Disassembly and Assembly
Actuator/Motor
GEAR, Ring and Pinion
Removal and Installation
Joints
SHAFTS, Axle/Drive/Half
Valves
Removal and Installation
REMOVAL
- Disconnect and isolate the negative battery cable(s) (Refer to 08 - Electrical/Battery System/Standard Procedure) .
- Raise and support the vehicle (Refer to 04 - Vehicle Quick Reference/Hoisting - Standard Procedure) .
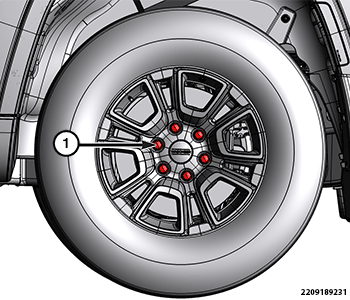
- Remove both rear wheels (Refer to 22 - Tires and Wheels/Removal and Installation) .
- Remove the wheel speed sensor bolts and remove the wheel speed sensor and support.
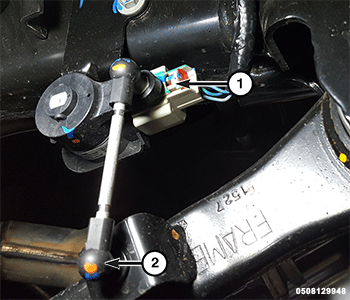
1 – Wheel Speed Sensor Bolts 2 – Wheel Speed Sensor Wire Harness Support - Carefully unsnap the lower end of the left and right height sensor level arms from the ball stud of the lower control arms with a small screwdriver.
1 – Height Sensor Level Wire Harness Connector 2 – Height Sensor Level Arm - Remove both rear caliper adapters (Refer to 05 - Brakes, Base/Hydraulic/Mechanical/ADAPTER, Disc Brake Caliper/Installation) .
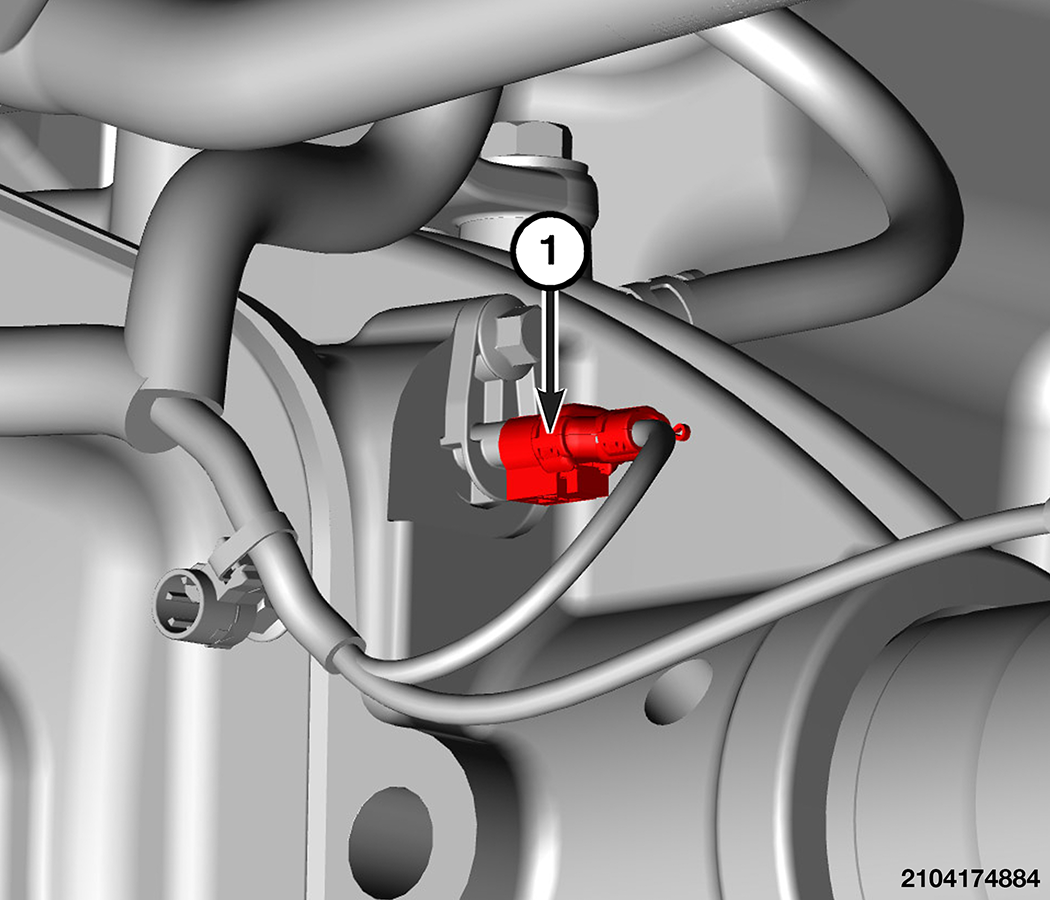
- Disconnect the axle locker wire harness connector.
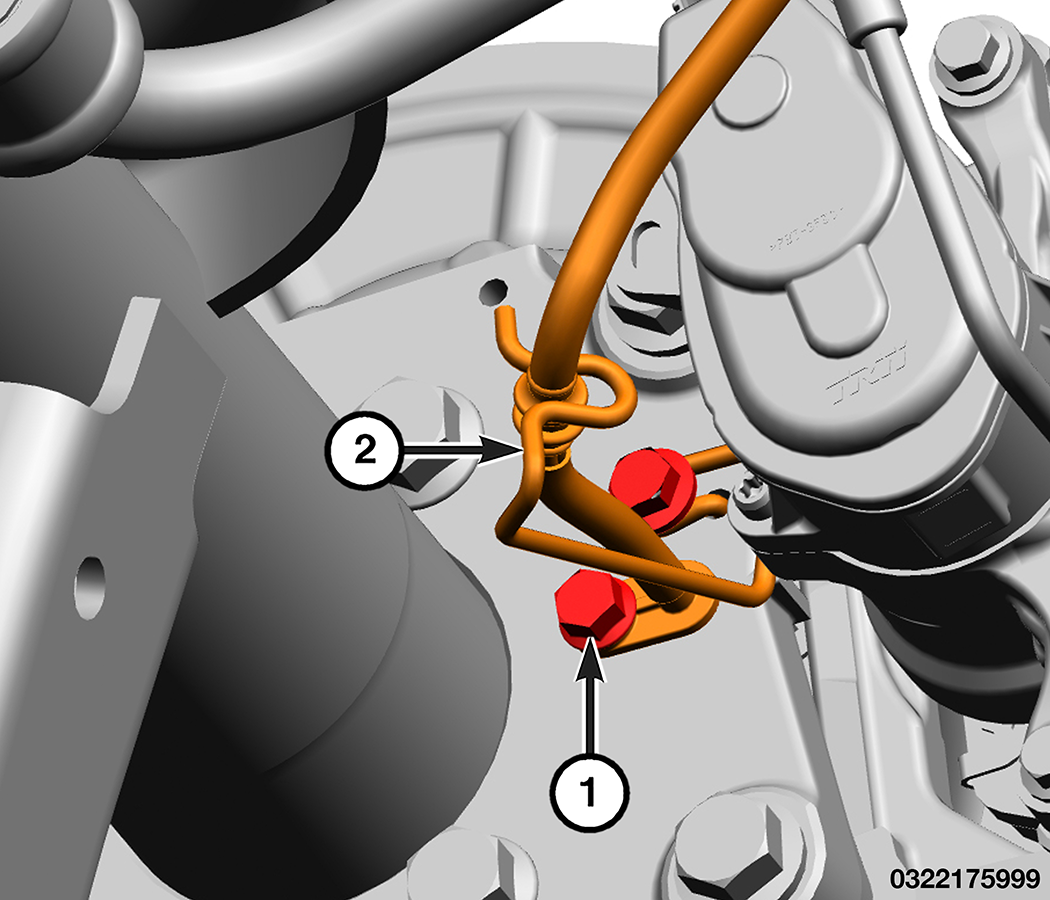
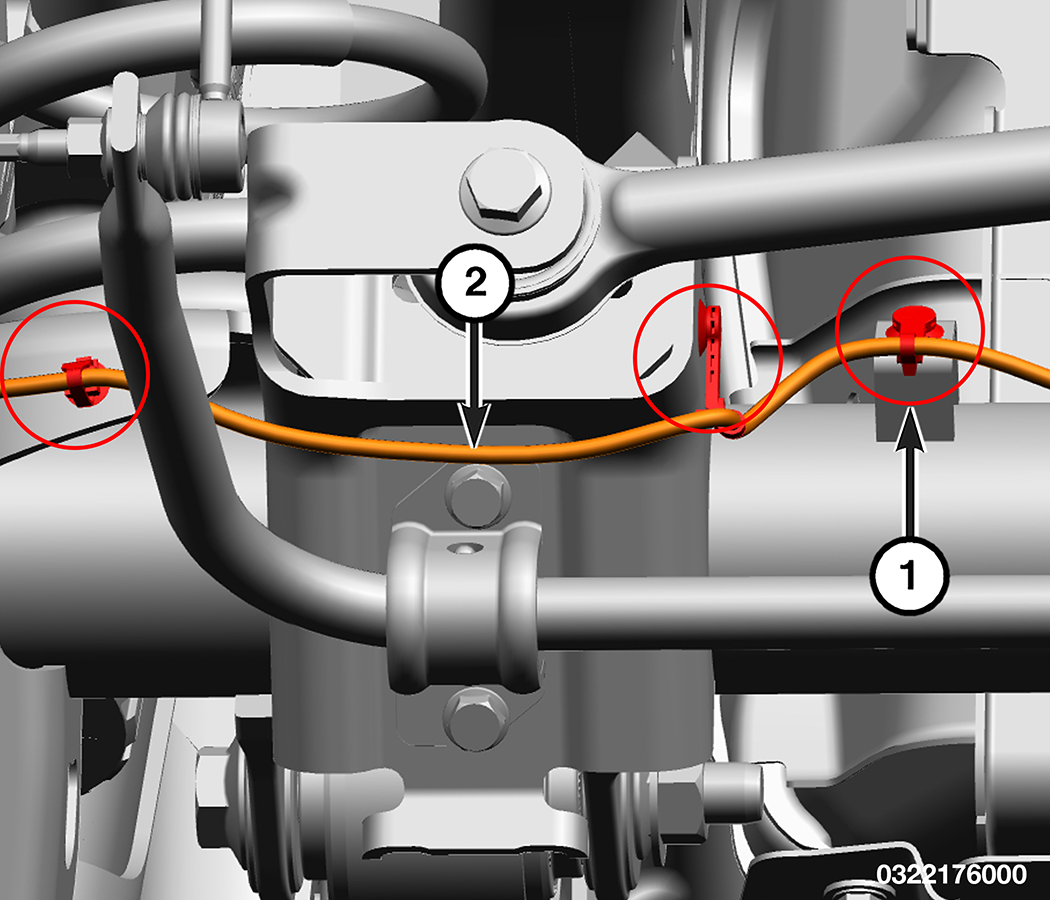
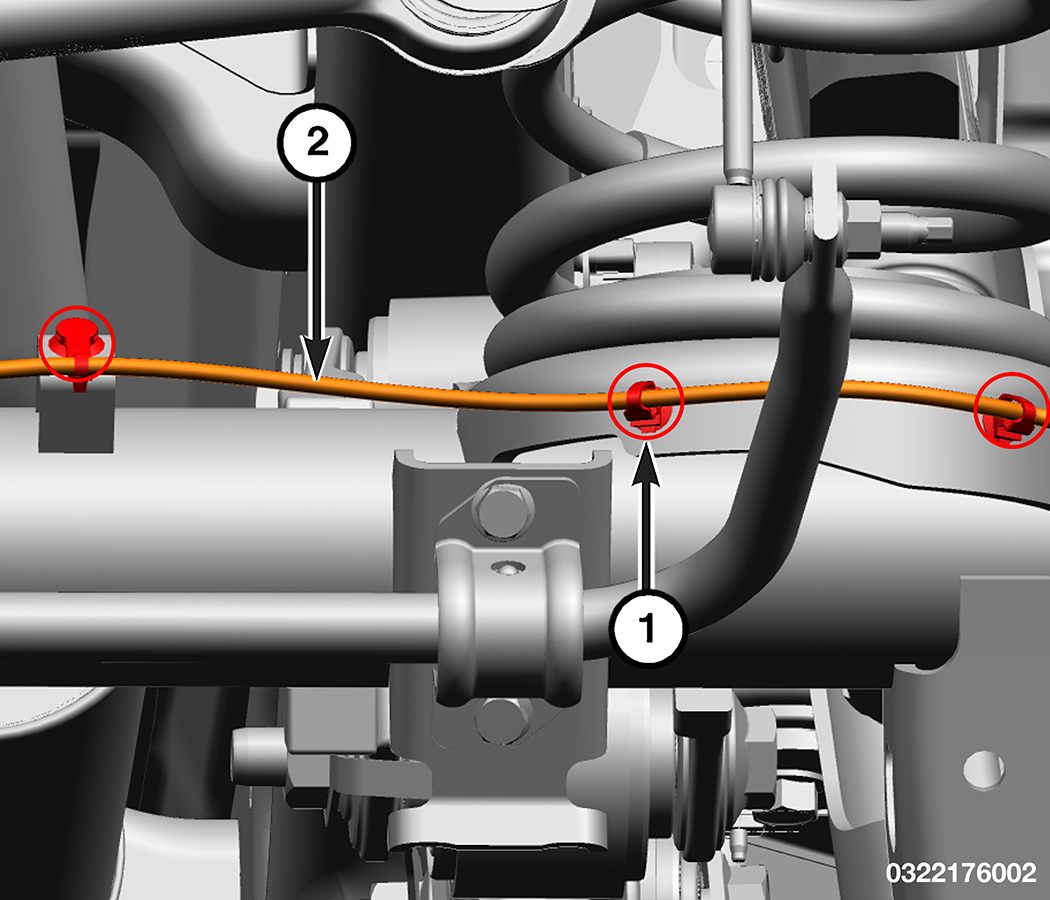
1 – Axle Locker Wire Harness Connector - Remove the left side electronic brake wire harness fasteners and position the harness aside.
1 – Electronic Brake Wire Harness Fasteners 2 – Electronic Brake Wire Harness - Remove the right side electronic brake wire harness fasteners and position the harness aside.
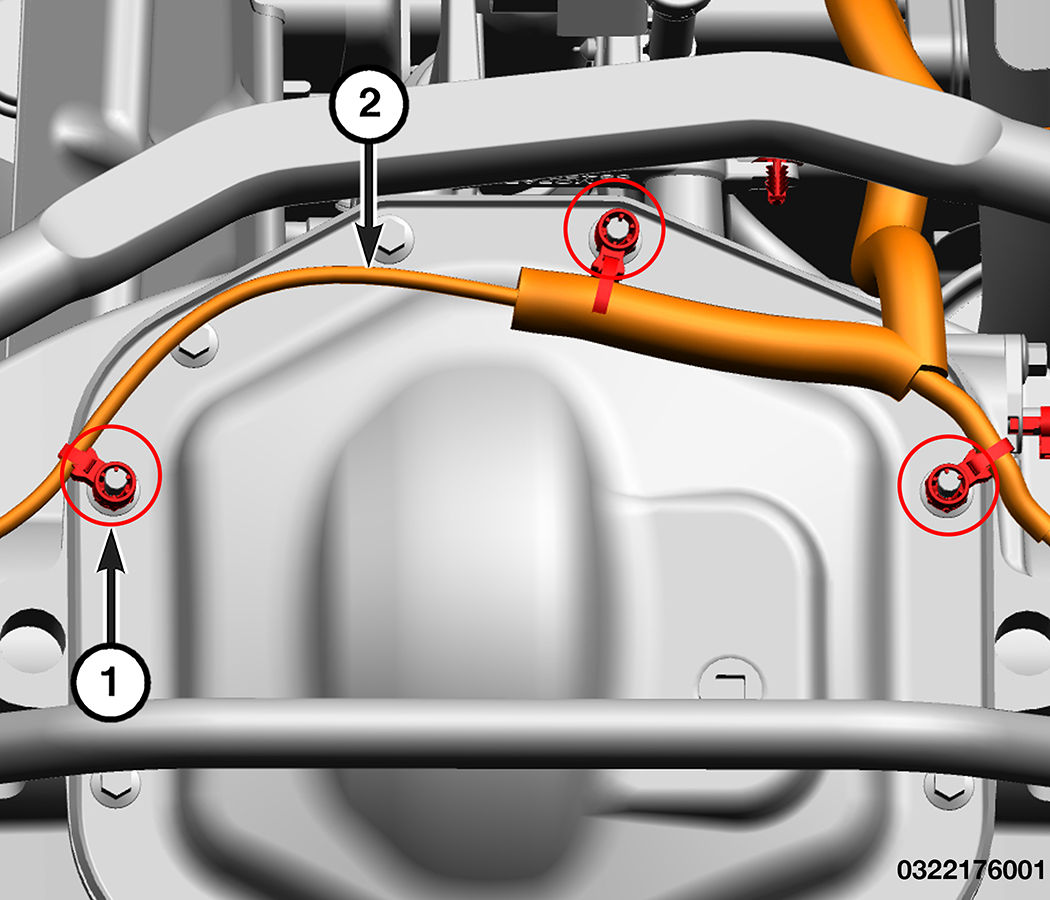
1 – Electronic Brake Wire Harness Fasteners 2 – Electronic Brake Wire Harness - Remove the electronic brake wire harness fasteners from the differential cover studs and position the harness aside.
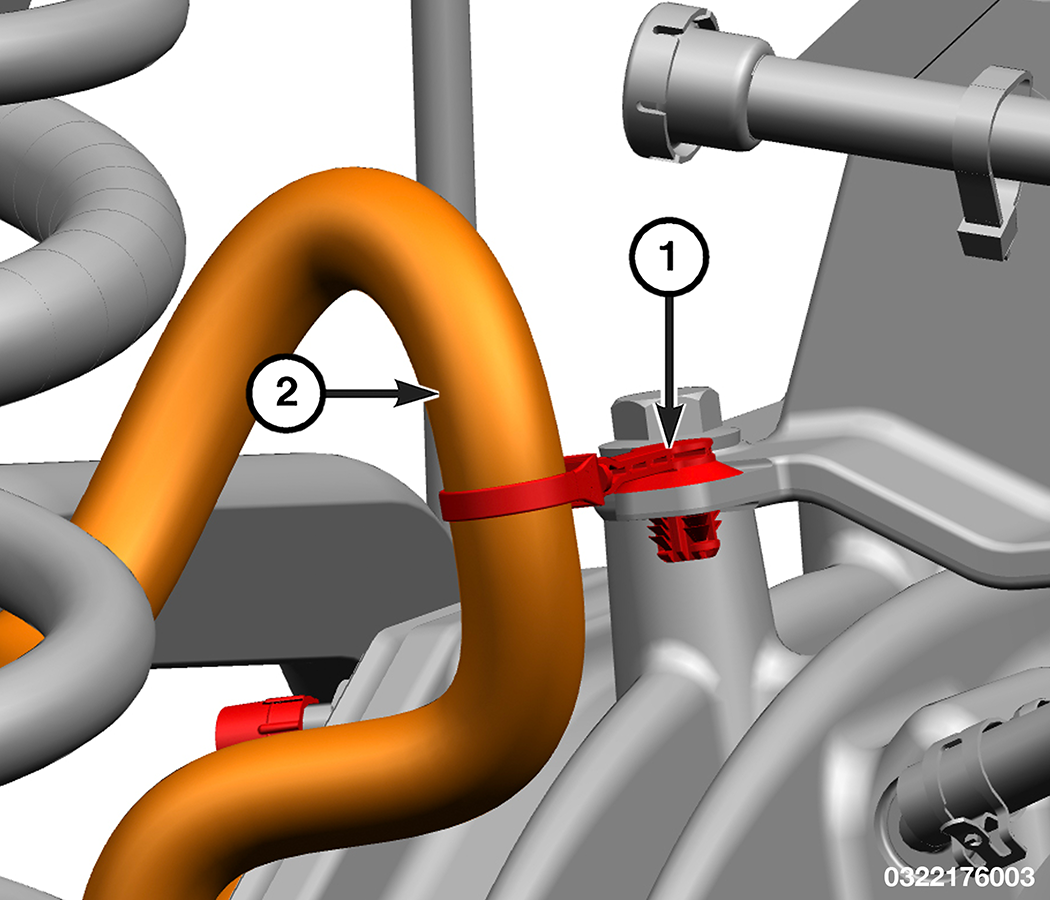
1 – Electronic Brake Wire Harness Fasteners 2 – Electronic Brake Wire Harness - Remove the electronic brake wire harness fastener from the differential and position the harness aside.
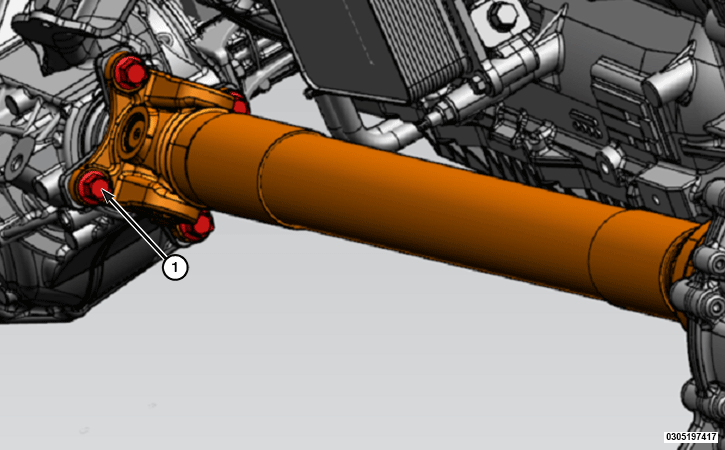
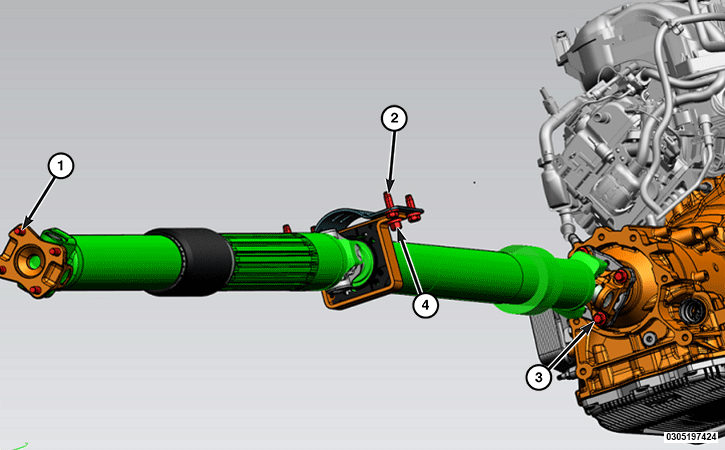
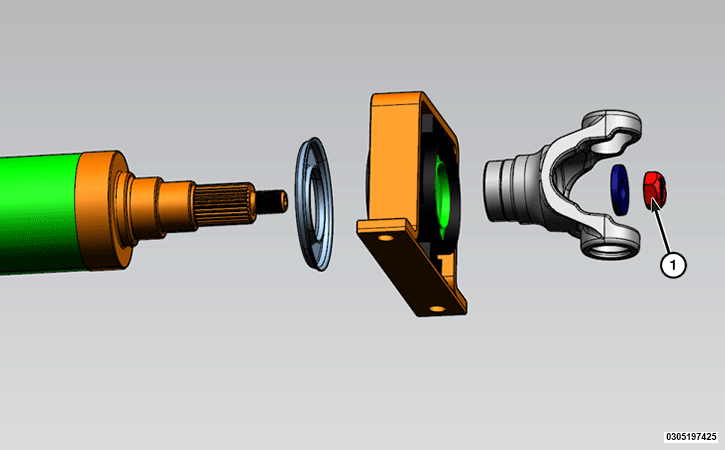
1 – Electronic Brake Wire Harness Fasteners 2 – Electronic Brake Wire Harness - Remove the rear driveshaft (Refer to 03 - Differential and Driveline/SHAFTS, Axle/Drive/Half/Removal and Installation) .
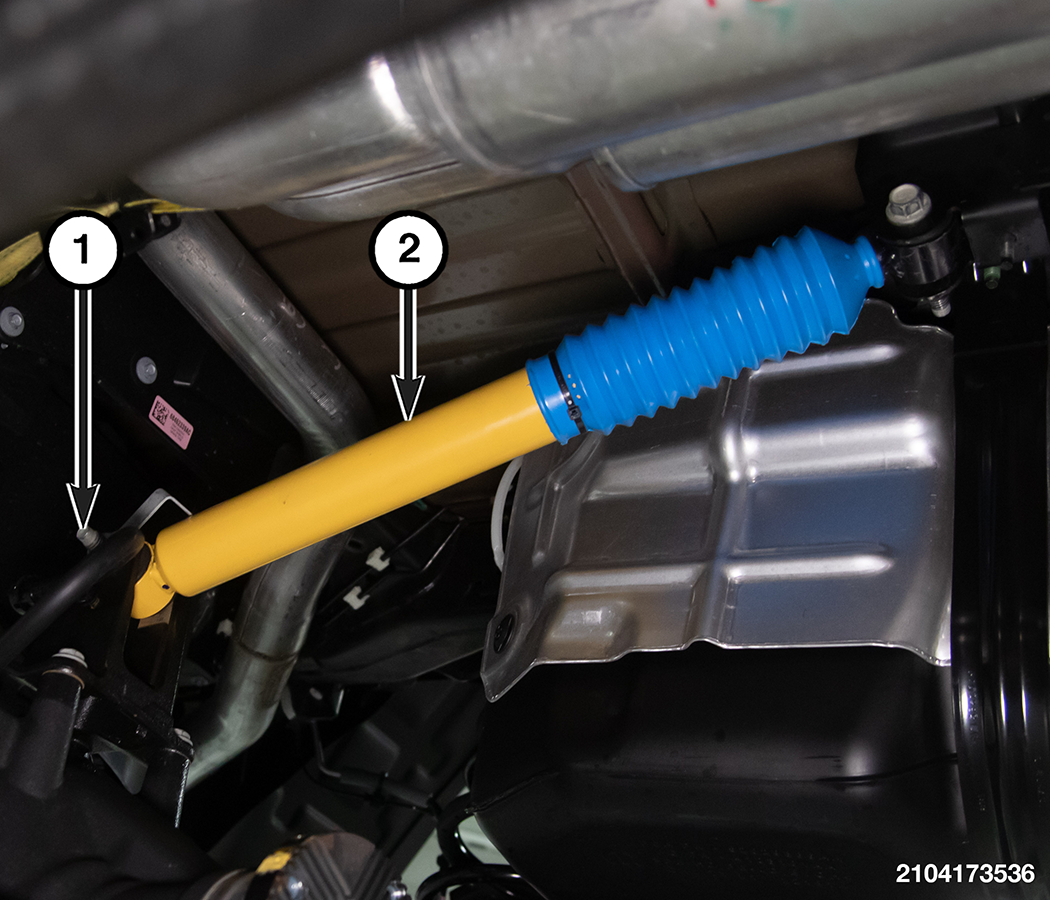
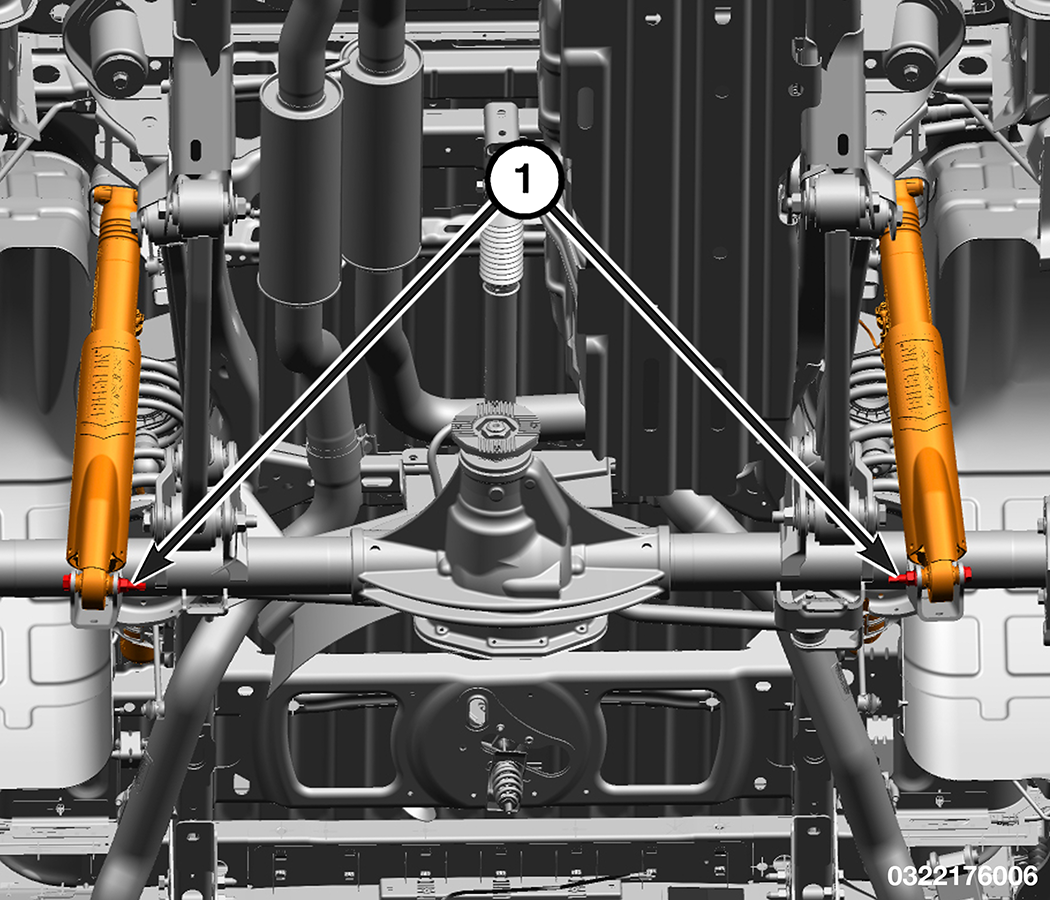
- Remove the power hop damper to axle bolt and position power hop damper aside.
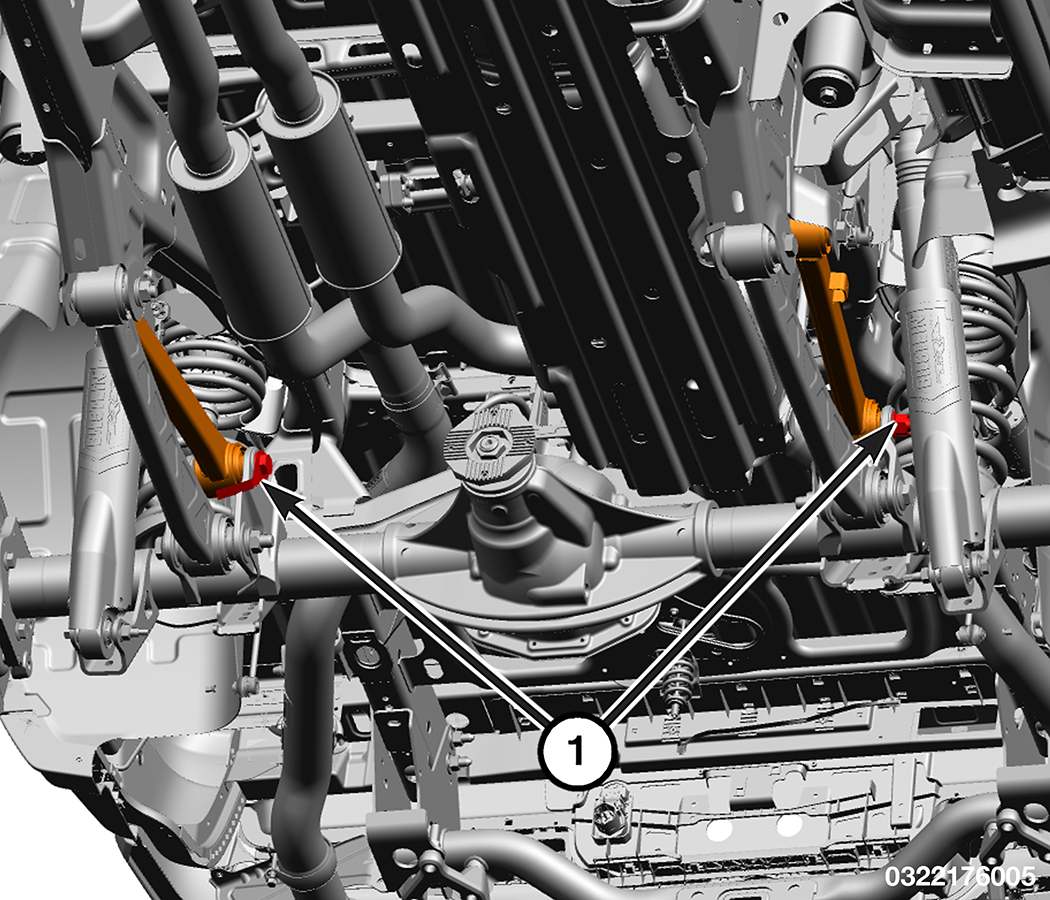
1 – Power Hop Damper To Axle Bolt 2 – Power Hop Damper - Remove and DISCARD the upper control arm bracket bolts and position the upper control arms away from the axle.
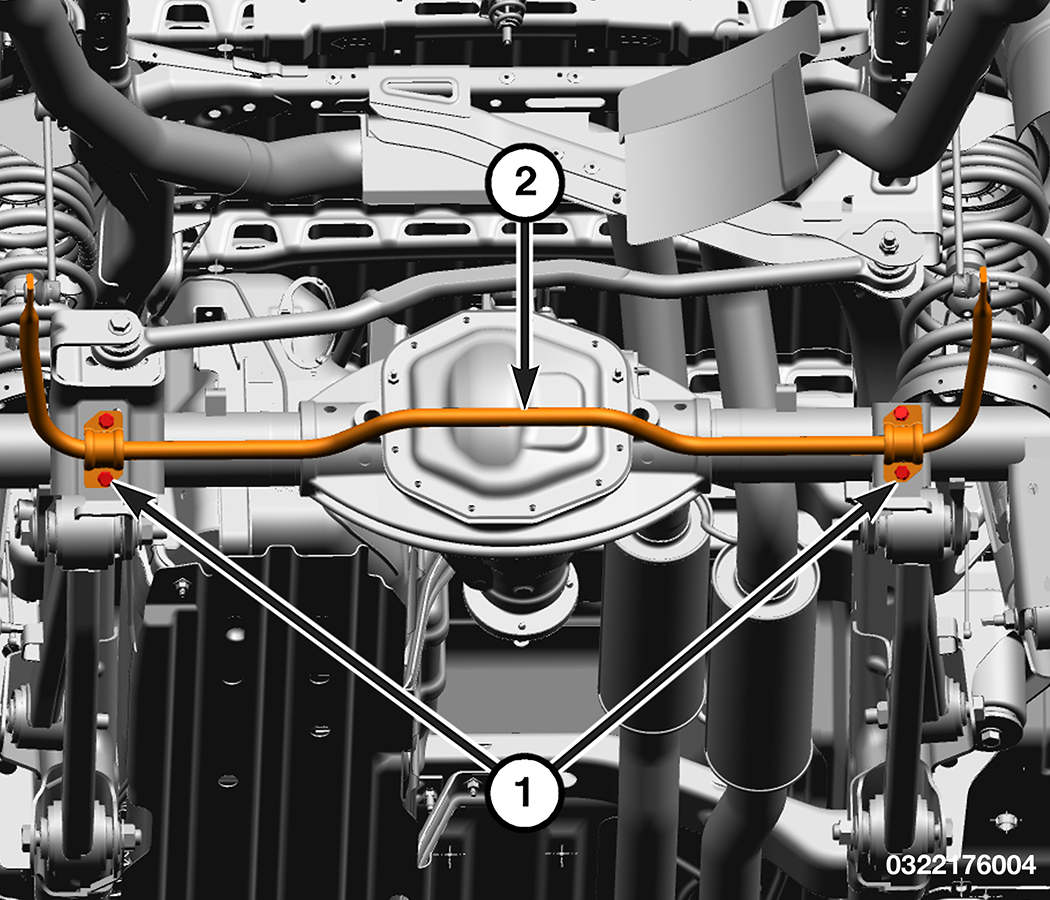
1 – Upper Control Arm Bolts And Nuts At Axle - Remove the stabilizer bar bolts and position the stabilizer bar aside.
1 – Stabilizer Bar Bolts 2 – Stabilizer Bar - Position a lift under the axle and secure the axle to the lift.
- Remove both lower shock absorber bolts and nuts and position the shock absorbers away from the axle.
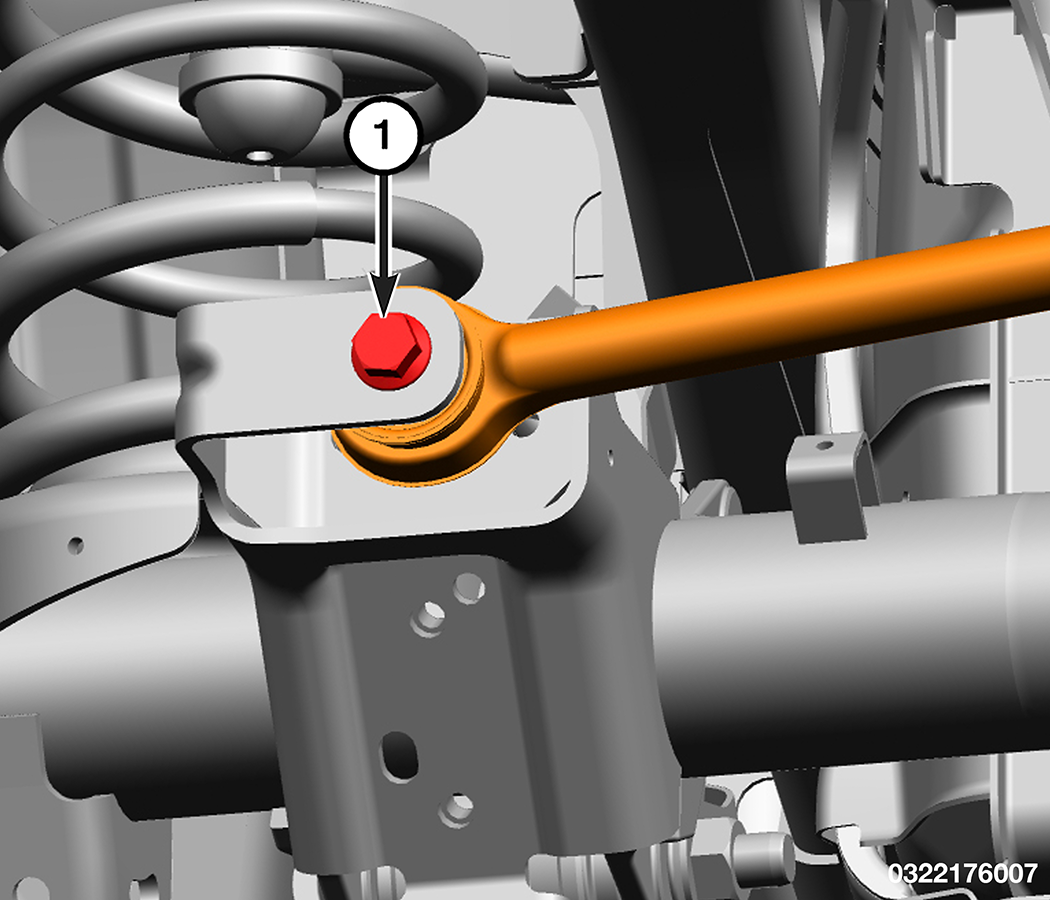
1 – Lower Shock Absorber Bolts And Nuts - Remove and DISCARD the lower track bar bolt and position the track bar away from the rear axle.
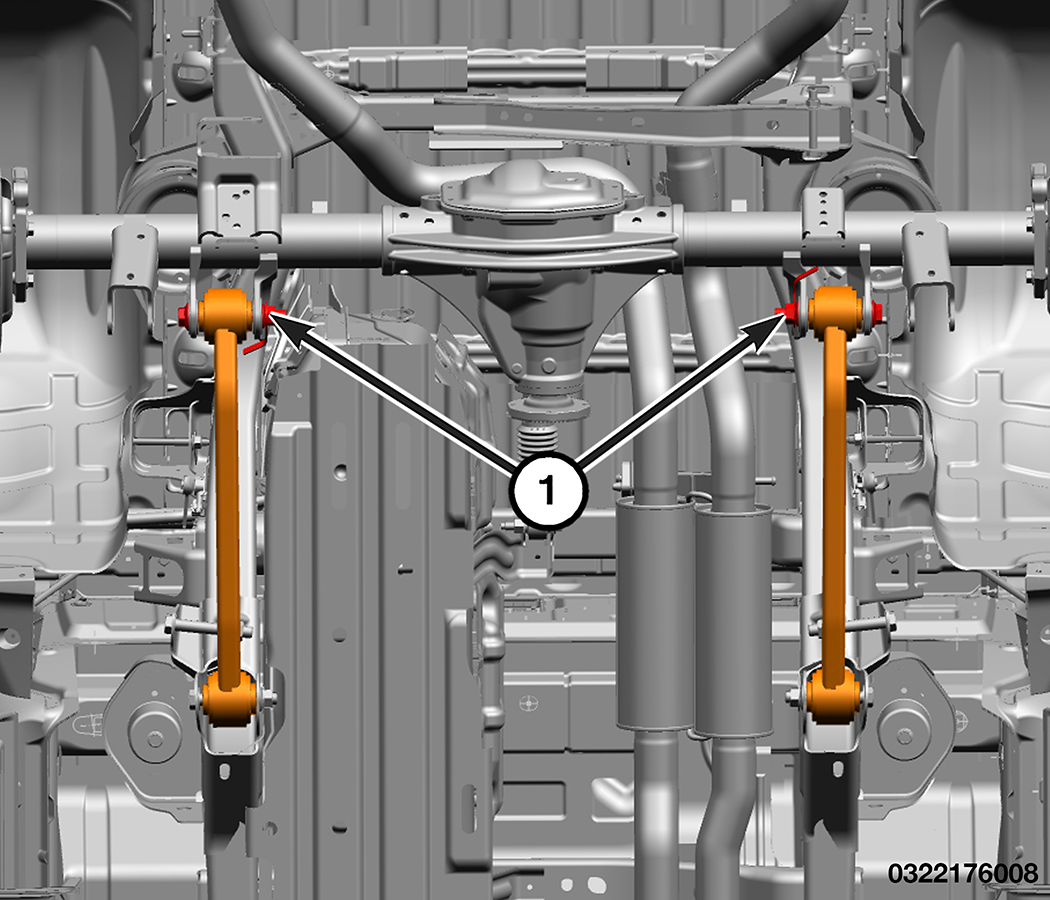
1 – Track Bar Axle Bolt - Remove and DISCARD the lower control arm bolts and nuts and position the lower control arms away from the rear axle.
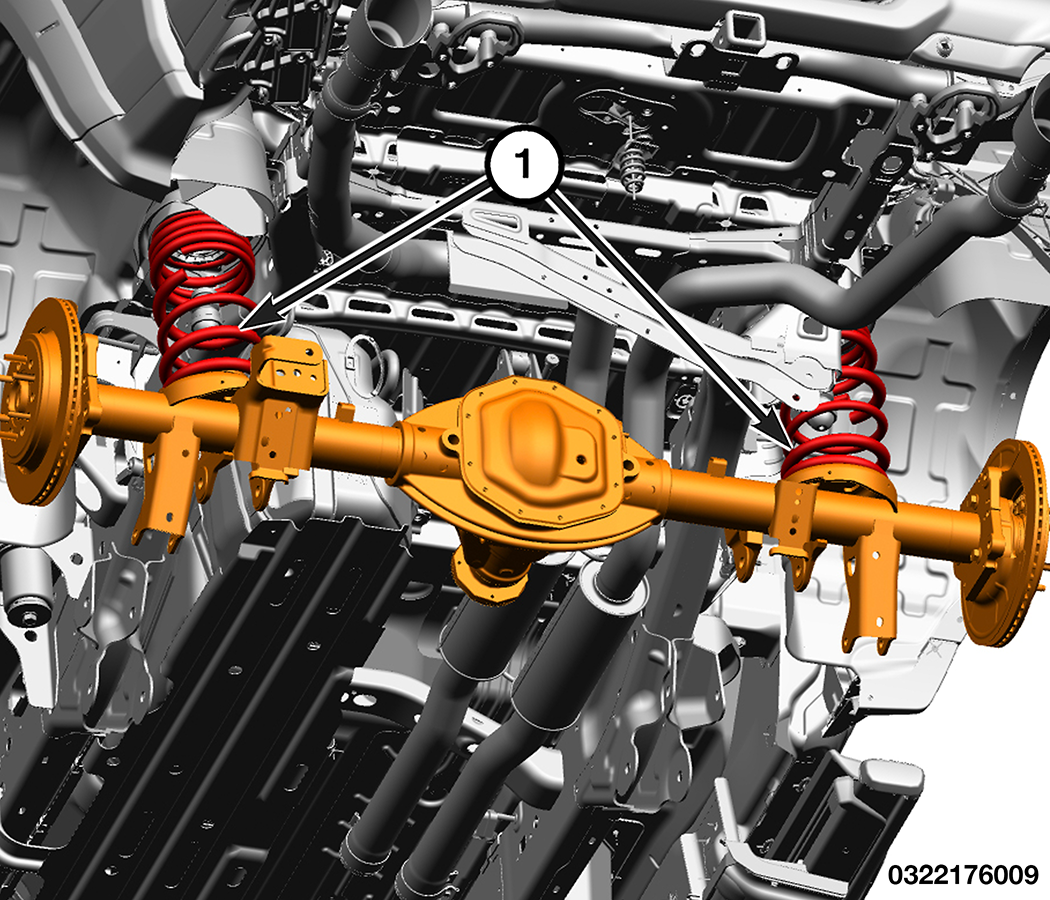
1 – Lower Control Arm Bolts And Nuts - Slightly lower the rear axle assembly and remove the rear coil springs.
1 – Coil Springs - Remove the rear axle from the vehicle.
INSTALLATION
| NOTE: |
All suspension torques should be made with the full vehicle weight on the ground being supported by the tires. |
- Position the coil springs in place on the rear axle and align into the spring upper pocket.
1 – Coil Springs - Position both the lower control arms into the rear axle brackets and loosely install the NEW lower control arm bolts and nuts.
1 – Lower Control Arm Bolts And Nuts - Position both the upper control arms in the rear axle brackets and loosely install the NEW upper control arm bolts and nuts.
1 – Upper Control Arm Bolts And Nuts At Axle - Position both the rear shock absorbers in the axle brackets and loosely install the rear shock absorber bolts and nuts.
1 – Lower Shock Absorber Bolts And Nuts - Position the power hop damper and install the fastener.
1 – Power Hop Damper To Axle Bolt 2 – Power Hop Damper - Position the track bar in the rear axle brackets and loosely install the NEW bolt.
1 – Track Bar Axle Bolt - Remove the axle lift.
- Position the stabilizer bar and install the bolts to the rear axle.
NOTE: The stabilizer bar must be centered with equal spacing on both sides.
1 – Stabilizer Bar Bolts 2 – Stabilizer Bar - Position the harness and secure the electronic brake wire harness fastener.
1 – Electronic Brake Wire Harness Fasteners 2 – Electronic Brake Wire Harness - Position the harness and secure the electronic brake wire harness fasteners.
1 – Electronic Brake Wire Harness Fasteners 2 – Electronic Brake Wire Harness - Position the harness and secure the electronic brake wire harness fasteners.
1 – Electronic Brake Wire Harness Fasteners 2 – Electronic Brake Wire Harness - Position the harness and secure the electronic brake wire harness fasteners.
1 – Electronic Brake Wire Harness Fasteners 2 – Electronic Brake Wire Harness - Install the wheel speed sensor and support.
1 – Wheel Speed Sensor Bolts 2 – Wheel Speed Sensor Wire Harness Support - Connect the axle locker wire harness connector.
1 – Axle Locker Wire Harness Connector - Install the both rear caliper adapters (Refer to 05 - Brakes, Base/Hydraulic/Mechanical/ADAPTER, Disc Brake Caliper/Installation) .
- Fill the axle with the specified lubricant to the proper level (Refer to 04 - Vehicle Quick Reference/Capacities and Recommended Fluids/Specifications) .
- Install the rear driveshaft (Refer to 03 - Differential and Driveline/SHAFTS, Axle/Drive/Half/Removal and Installation) .
- Carefully snap the lower end of the left and right height sensor level arms to the ball stud of the lower control arms.
1 – Height Sensor Level Arm 2 – Height Sensor Level Wire Harness Connector - Install the rear wheels (Refer to 22 - Tires and Wheels/Removal and Installation) .
- Remove the supports and lower the vehicle to properly load the suspension.
- Tighten the upper control arm bolts and nuts.
1 – Upper Control Arm Bolts And Nuts At Axle - Tighten the lower control arm bolts and nuts.
1 – Lower Control Arm Bolts And Nuts - Tighten the lower shock bolts and nuts.
1 – Lower Shock Absorber Bolts And Nuts - Tighten the power hop damper bolt.
1 – Power Hop Damper To Axle Bolt 2 – Power Hop Damper - Tighten the track bar axle bolt.
1 – Track Bar Axle Bolt - Remove the support and lower the vehicle.
- Connect the negative battery cable(s) (Refer to 08 - Electrical/Battery System/Standard Procedure) .
 TORQUE SPECIFICATIONS - REAR SUSPENSION